Pumpkins are everywhere and Halloween is getting bigger each year. If you’re a sucker for a festive event then look no further for we have our best tips and hacks on how to carve the perfect pumpkin. Make your design stand out, make it a classic – the choice is yours but we promise you it will be spooktaciluar…
BUYING YOUR PUMPKIN
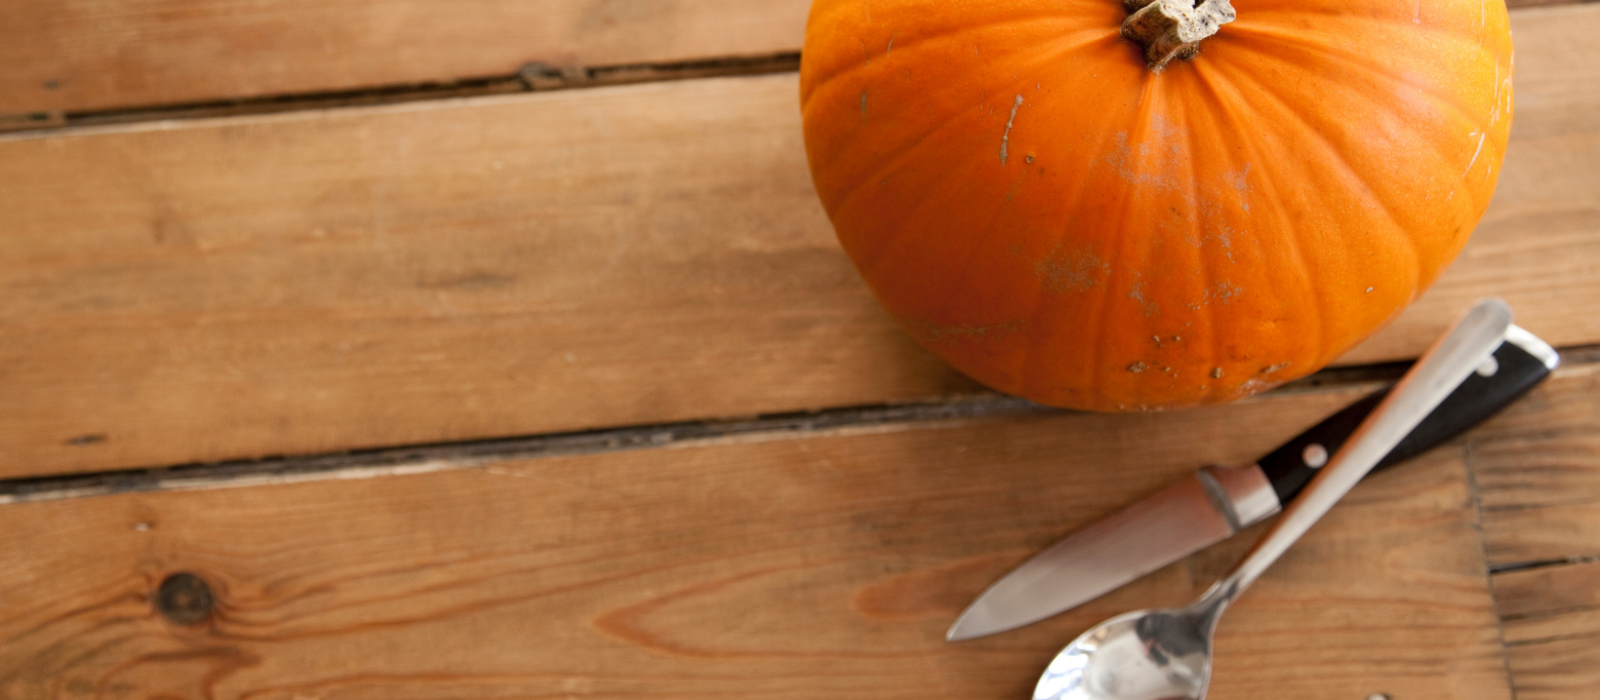
You can buy pumpkins from anywhere at the moment, farms, pumpkin patches, greengrocers and supermarkets. Even florists sell them in some places! They come in so many varieties. You can choose a supersized orange pumpkin, white “ghost” style, multi-coloured squashes or a scary gnarly pumpkin like the one in the picture below.
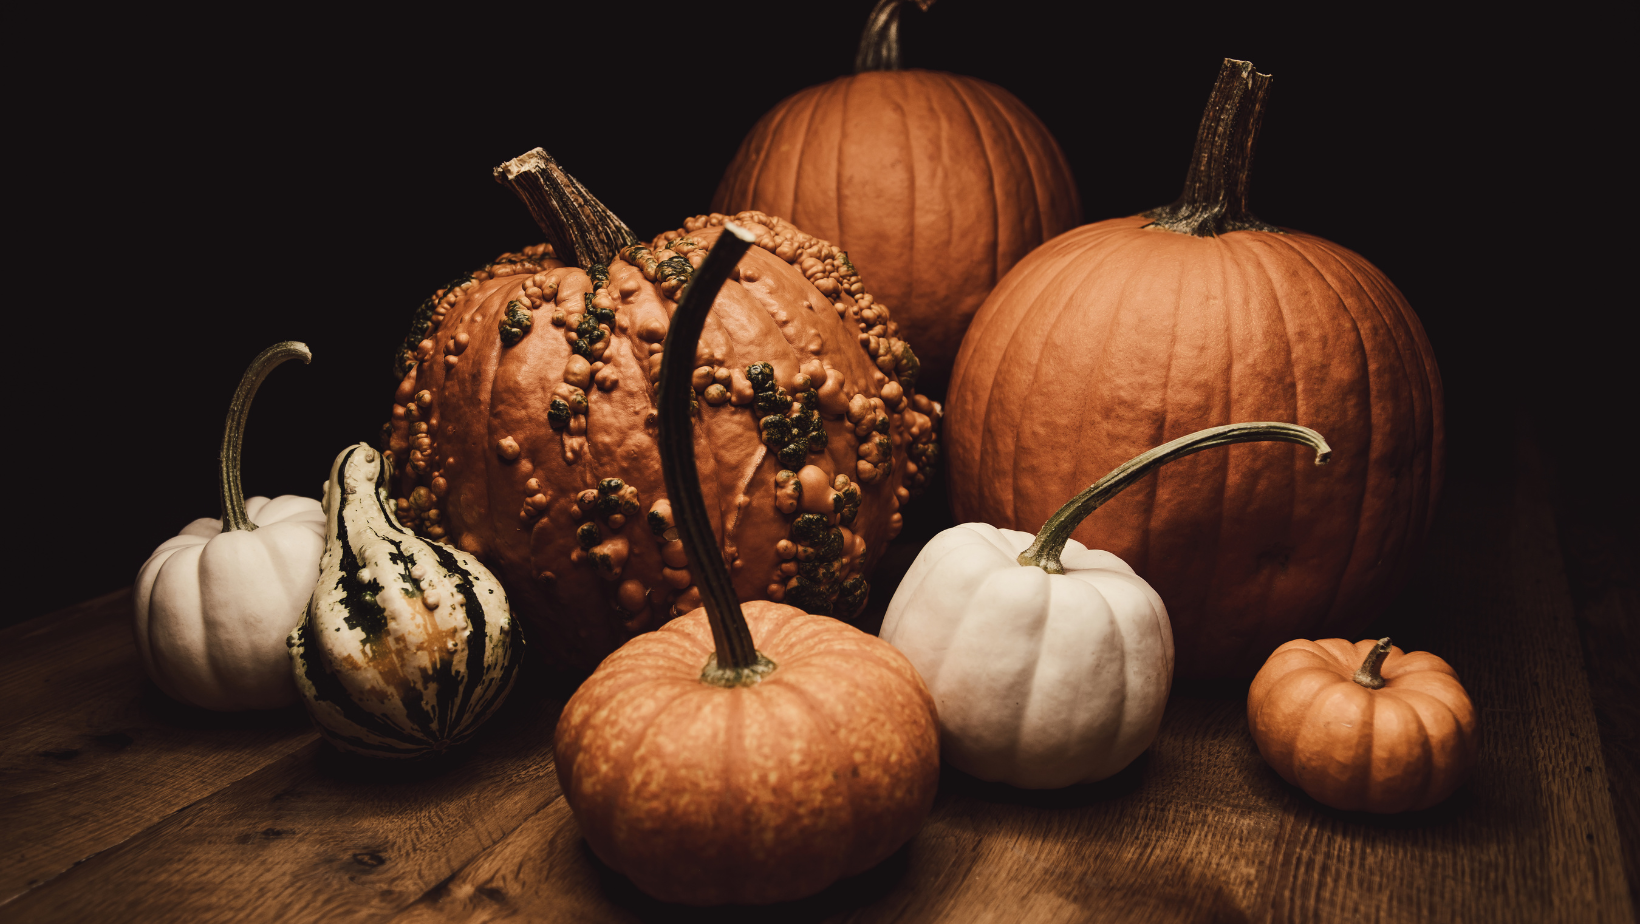
When it comes to carving – you can go simple or really push the boat out and look at accessories, just carving the skin for a see through effect or a combination. Some people prefer not to carve at all and just create a little display with varying sized pumpkins and squashes which can be equally as effective.
One thing to bear in mind is – the earlier you carve your pumpkin the more chance it won’t last until Halloween night. No one wants rotting pumpkins on their doorstep, although it might add to the Halloween effect. With the warmer weather we have been having recently – you may want to wait until a few days before Halloween to do your carving. You can always display your pumpkins “uncarved” to begin with to get two displays and make them last longer!
CLEANING OUT YOUR PUMPKIN FOR CARVING
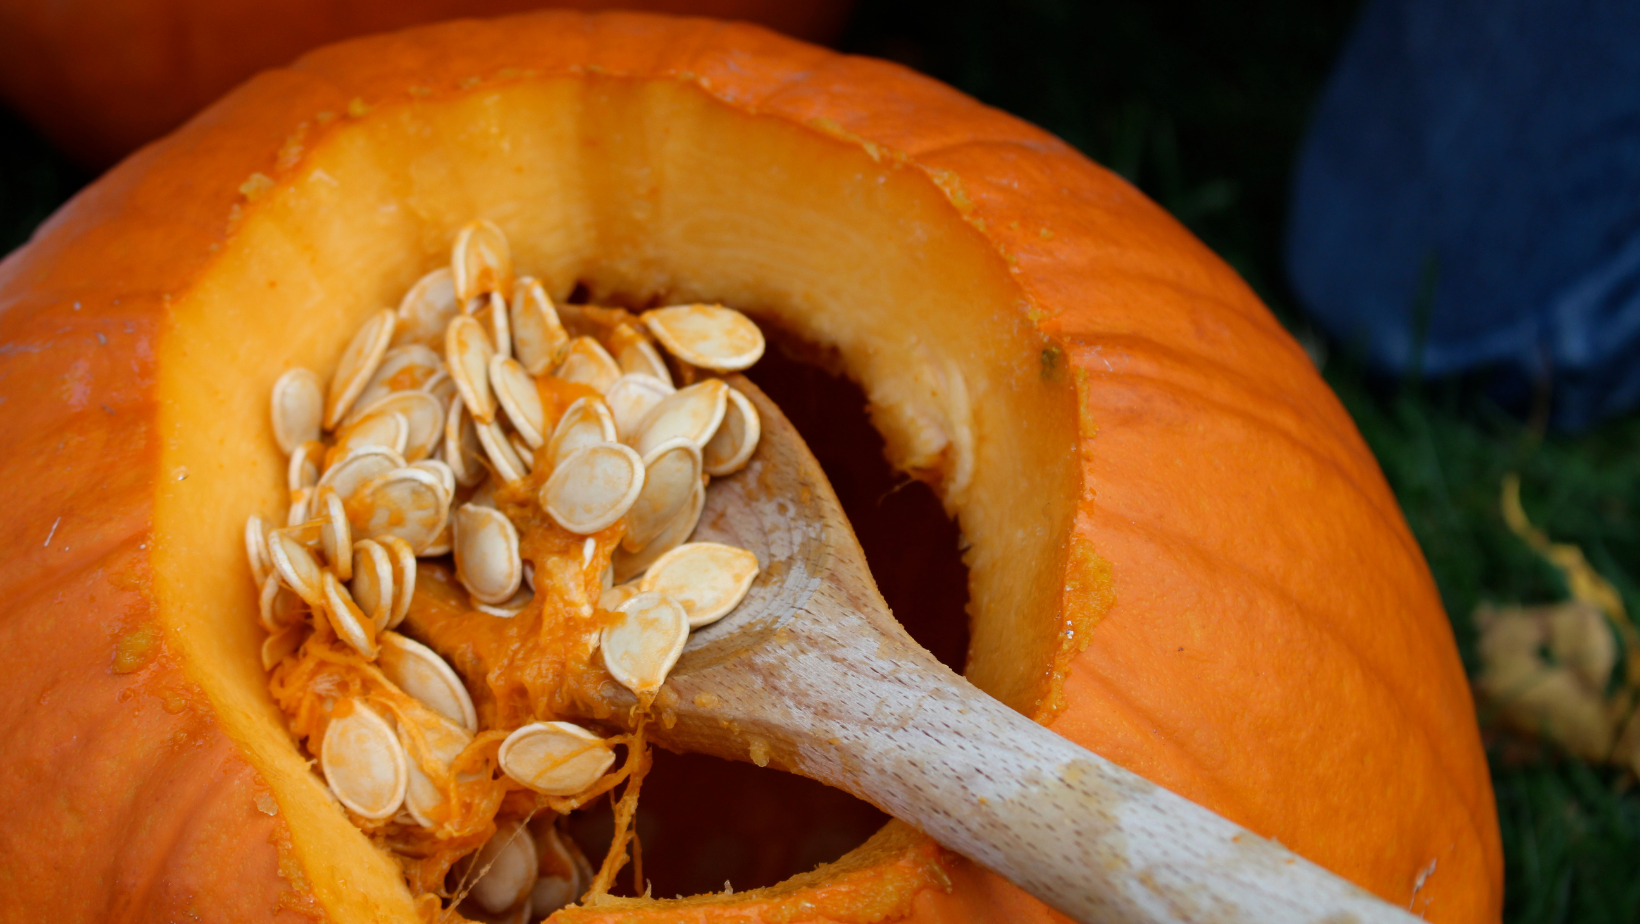
Most pumpkins bought around Halloween these days don’t have much flesh inside them. It’s more the stringy insides with the pumpkin seeds attached. The best way to get this out is to scrape the inside of the pumpkin with a large spoon. Using your hands can be fun but can get VERY messy!
You may have also seen various “hacks” on social media such as TikTok and Instagram where people use whisks or drills to remove the insides super fast! We wouldn’t necessarily recommend doing it this way – unless you have experience with power tools – you don’t want to end up with a spinning pumpkin or one that is unusable.
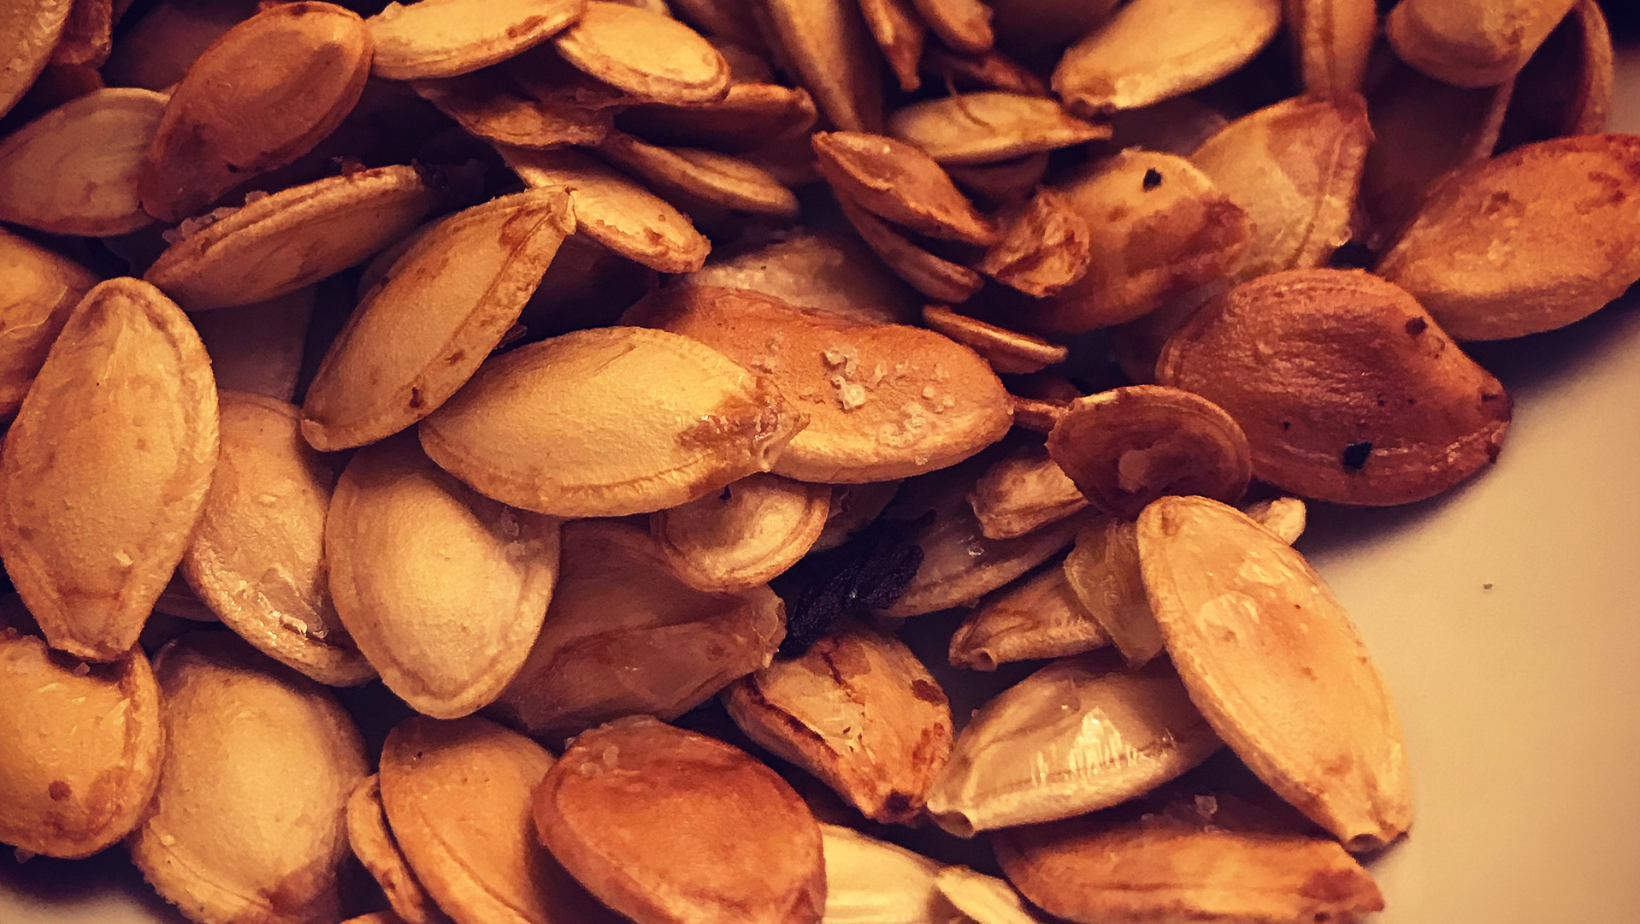
Once your pumpkin is hollowed out you can put the seeds to one side and roast them later. There is a great recipe for roasted pumpkin seeds here https://www.bbcgoodfood.com/recipes/roasted-pumpkin-seeds. You can’t go wrong with olive oil, salt, pepper and a sprinkling of paprika or chili flakes either. Delicious!
Now for the fun part…
HOW TO CARVE THE PERFECT PUMPKIN
When you’re ready to carve, make sure you have all the things you need to hand. Get an idea of the design you want to do. You can print out templates or go freehand. Most people prefer a serrated edged knife or pumpkin carving set to do their pumpkins as it makes it easier and you can be more accurate.
Go to town!
You can use stickers, toothpicks, pens or paints for a really unique design
Some of our favourites are below
TOP PUMPKIN CARVING TIPS
- Use a sharp knife or specific pumpkin carving tools (you can buy these in many cheap shops like Home Bargains, B & M)
- Draw your design on first so you know exactly where to cut in order to carve the perfect pumpkin
- Make sure you cover your table with a wipe clean table cloth
- Supervise children at all times
- Make sure you keep the top of the pumpkin to use at a “lid”
- You can use a thin layer of Vaseline around your cuts to help keep it fresh for longer
The most important thing when carving the perfect pumpkin is that it doesn’t have to BE perfect – just HAVE FUN!
If you are looking at more decorating tips for this time of year check our our blog on decorating your home for Autumn.


